Why Move Cleaning Matters (and What Inspectors Look For)
Whether you’re handing back keys or preparing to move into a new place, a move-in/move-out clean is different from everyday tidying. Landlords, property managers, and buyers look beyond the obvious: they check appliance interiors, cabinet and drawer interiors, baseboards, glass, grout, trim, and high-touch points. A structured, top-to-bottom plan will help you pass inspections, protect your security deposit, and make move day far less stressful.
How to Plan Your Cleaning Timeline
- 7–10 days before move: Gather supplies, schedule any repairs, and plan appliance/cabinet interior cleaning.
- 3–5 days before move: Tackle kitchen and bathroom deep detail (time hogs).
- 1–2 days before move: Finish bedrooms and living areas, glass, and floors.
- Day of key handoff: Do a fast final pass (crumbs, smudges, toilet/faucet shine) and walkthrough photos.
Pro tip: If you’re moving while still living in the home, pack non-essentials first so cabinets/drawers become empty for interior wipe-downs.
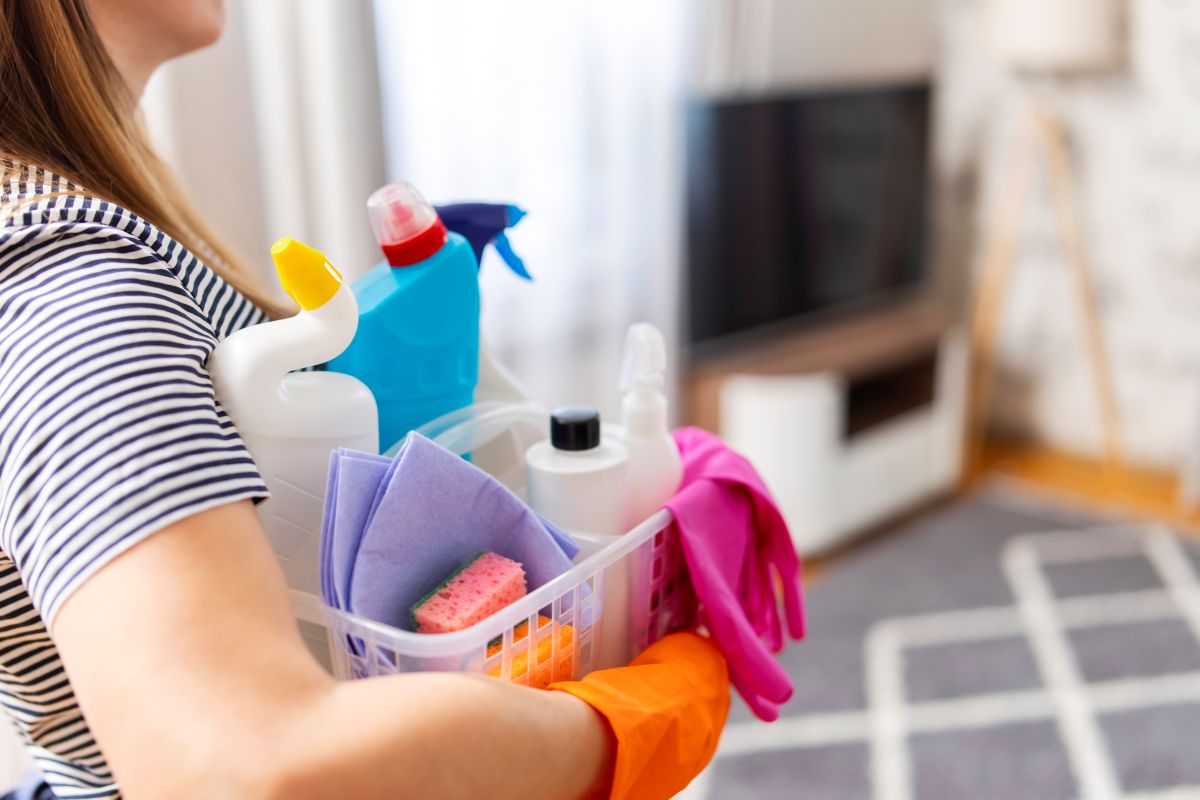
Supplies You’ll Need (Move-Ready Kit)
- Microfiber cloths (color-code: kitchen, bath, general)
- All-purpose cleaner, non-abrasive degreaser, glass cleaner
- Bathroom descaler (for soap scum/mineral deposits)
- Baking soda + dish soap (for oven/range grease)
- Scrub brushes, grout brush, old toothbrush
- HEPA vacuum with crevice tools; mop (two-bucket or washable-pad)
- Magic eraser (lightly on scuffs—spot test first)
- Step stool, gloves, trash bags, box for “found items”
Step 1: Start High—Dust and Detail the Whole Home
Sequence: top → down, dry → wet, clean → dirty to avoid rework.
- Ceilings, corners, fans, and lights: Extension dust; wipe fan blades and light shades.
- Vents and returns (exteriors): Vacuum dust buildup; replace filters if part of your lease agreement.
- Blinds/shutters and sills: Dry dust each slat; wipe sills and window tracks (cotton swabs help in slider rails).
- Doors and trim: Wipe door faces, handles, and trim tops; focus on hand-height smudges.
- Baseboards: Vacuum edges; then wipe with a slightly damp cloth for a uniform look.
Step 2: Kitchen—The Inspector’s Favorite Room
Kitchens are the #1 reason tenants lose deposits. Plan extra time here.
Appliance Interiors
- Oven: Spread a baking-soda paste; dwell 20–30 minutes; wipe; follow with a degreaser for glass and racks.
- Microwave: Steam with a bowl of water + lemon for 2 minutes; wipe splatters; clean turntable and ceiling.
- Fridge/Freezer: Empty, remove shelves/bins, wash with mild soap, wipe gaskets, and vacuum under the kick plate.
- Dishwasher: Clean filter; wipe door edges and gasket; run a hot cycle with a cleaner or vinegar.
Cabinets, Drawers & Surfaces
- Interiors: Vacuum crumbs, then wipe boxes and edges; don’t forget under-sink areas.
- Exteriors: Degrease pulls, edges, and corners; spot test magic eraser on scuffs.
- Backsplash & counters: Degrease grout lines behind the range; use stone-safe cleaner on granite/quartz.
- Sink & faucet: Scrub basin with baking soda; polish stainless/chrome; disinfect disposal gasket.
- Final: Pull appliances (when safe) to clean visible sides/floors; vacuum edges and mop.
Step 3: Bathrooms—Sanitary and Streak-Free
Bathrooms are the #2 inspection hotspot because of soap scum, mineral stains, and mildew.
- Showers & tubs: Apply descaler to glass and tile; give it dwell time; scrub grout and door tracks; rinse and squeegee.
- Toilets: Clean bowl (under the rim), hinges, and base; disinfect floor perimeter and wall behind.
- Vanities: Empty drawers/cabinets; wipe interiors; polish faucets; clean mirrors streak-free.
- Fans & vents: Dust or wash covers; ensure the light lens is clear and bright.
- Finishing touch: Replace a spent caulk bead or toilet seat if allowed—it’s inexpensive and impactfully “new.”
Step 4: Bedrooms & Living Areas—Where Details Win
- Closets: Wipe shelves and rods; vacuum corners; remove hangers or hooks you installed if required.
- Upholstery & dust: If furniture remains, vacuum upholstery and under cushions; dust lamps and shades.
- Walls & switches: Lightly spot-clean scuffs (test paint first); sanitize switches and door knobs.
- Final tidy: Remove nails/anchors where permitted; patch small holes with lightweight spackle; touch up paint if allowed.
Step 5: Interior Glass, Sliders & Touch Points
- Glass & mirrors: Clean in overlapping passes; buff edges last to prevent streaks.
- Slider tracks: Vacuum grit; wipe rails; clean door glass (inside).
- High-touch points: Knobs, pulls, remotes, railings—disinfect for a “fresh” impression.
Step 6: Floors—Save These for Last
- Edge vacuuming: Crevice tool along baseboards, stairs, under toe-kicks.
- Hard floors: Mop with a surface-appropriate cleaner (pH-neutral for tile/LVP/laminate); change water often.
- Carpets: Vacuum slowly in two directions; if stained and permitted by lease, spot-treat or arrange a professional cleaning.
Move-In Cleaning (Do This Before Boxes Arrive)
Even “clean” homes benefit from a move-in pass so you start fresh.
- Cabinet/drawer interiors: Wipe so dishes and linens go into sanitary spaces.
- Appliance interiors: Fridge/freezer, microwave, and (optionally) oven before stocking.
- High dust & vents: Reduce allergens before you move soft furnishings in.
- Bathrooms: Disinfect fixtures, descale glass, and polish chrome for that hotel-level reset.
Small Fixes with Big Payoff
- Replace burnt bulbs and quiet a squeaky hinge with a drop of oil.
- Tighten loose handles and towel bars.
- Neutralize odors: Ventilate, wipe touch points, and launder/replace entry mats.
Your Final Walkthrough Checklist (Copy/Paste)
- Open every cabinet/drawer; show interiors are clean
- Photograph inside oven, fridge/freezer, microwave
- Show shower glass, grout lines, toilet base/hinges
- Snap baseboards, door/trim, sliders and tracks
- Floors: edge vacuum complete; mop lines even
- All trash removed, keys/remotes gathered in a labeled bag
When It’s Worth Hiring Pros
If you’re pressed for time, managing a long-distance move, or dealing with stubborn buildup, a professional move-out clean can be the difference between full deposit and deductions. Pros arrive with commercial-grade degreasers, descalers, checklists, and enough hands to finish quickly—and they can provide photo documentation for your records.
FAQs
Q1: How long does a proper move-out clean take?
A studio/1-bed typically takes 4–6 hours, a 2–3 bed 6–10 hours, and larger or heavily used homes 8–14+ hours. Add time for inside oven/fridge and cabinet interiors, or bring in a two-person crew to speed things up.
Q2: Do I have to empty cabinets and the fridge/freezer?
For true move-out standards, yes. Empty interiors let you (or your cleaners) wipe thoroughly and quickly, and they’re often checked during inspections. If you can’t empty them, plan extra time to move items as you clean.
Q3: What areas cause the most deposit deductions?
Kitchen grease (oven/range, cabinet edges), bathroom soap scum/grout, baseboards/trim, and appliance/cabinet interiors. Address these thoroughly, and don’t forget sliders and tracks, which collect gritty buildup that’s easy to spot during walkthroughs.


.avif)